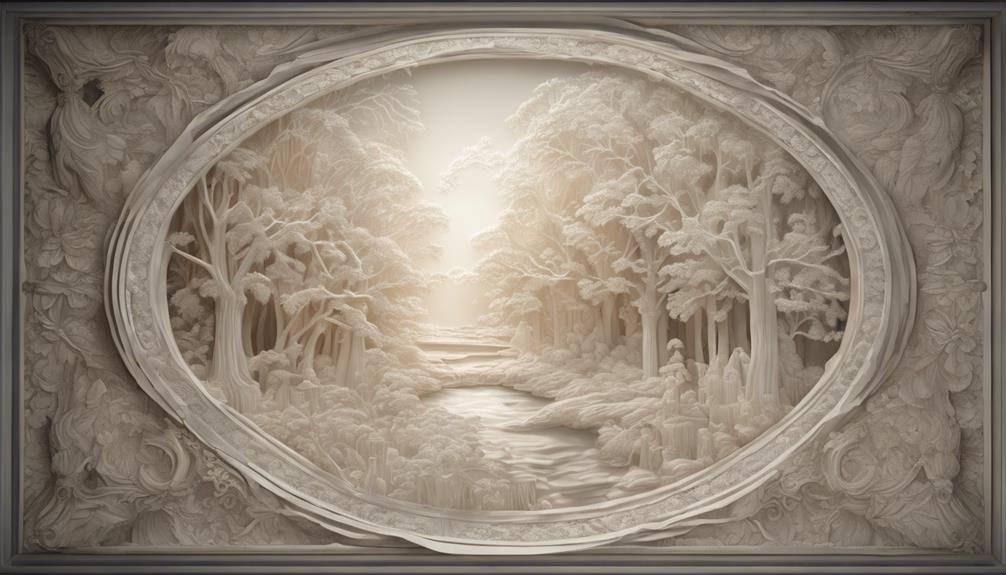
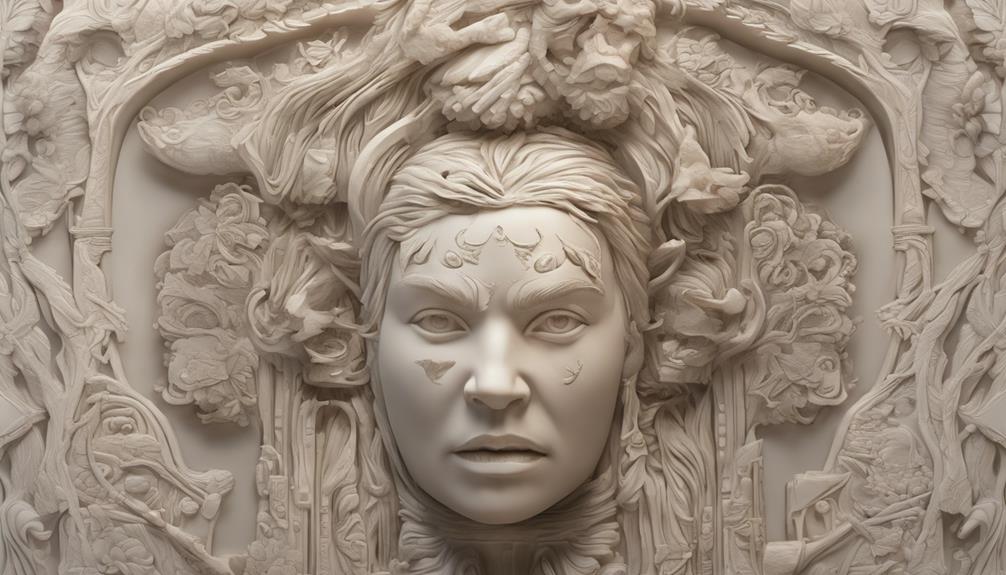
As you contemplate the beauty of lithophanes, envision the allure of masterpieces waiting to be revealed. The intricate dance between light and shadow, meticulously crafted within these translucent layers, promises a journey filled with artistic wonder. Each piece holds the potential for a unique narrative, a tale waiting to unfold as you explore the depths of this enchanting art form. Embrace the mystery that lies within the shadows and let the art of lithophanes guide you into a domain where creativity knows no bounds.
Understanding the Basics of Lithophanes

To understand the essence of lithophanes, focus on the core concept of image illumination through varying thicknesses in translucent sheets.
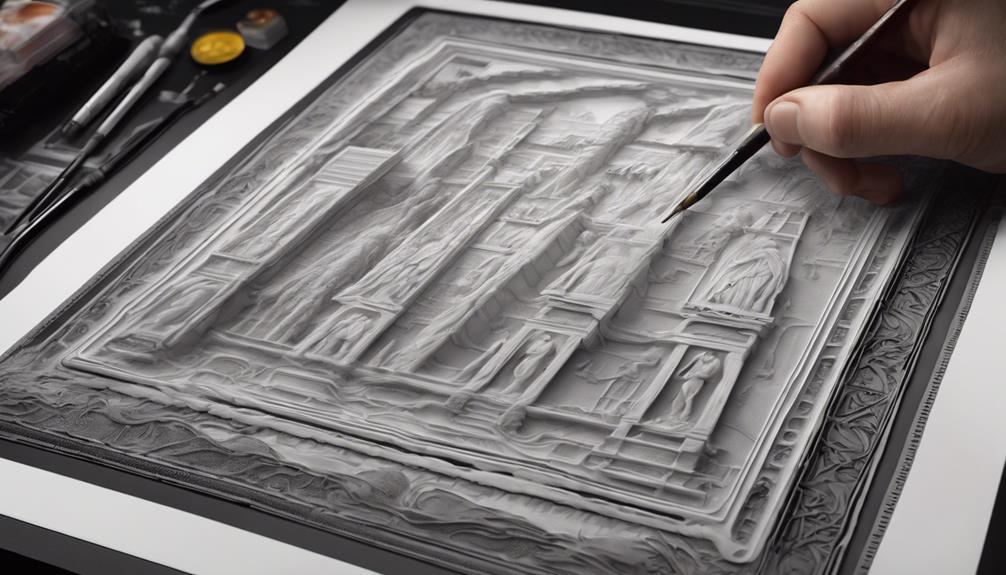
As you explore this art form, you'll uncover the enchanting interplay between light and shadow. Thicker sections create dark areas, while thinner parts allow light to pass through, revealing intricate designs.
Customization becomes your playground, where adjusting design lines or adding layers on the Z-Axis sparks endless creativity. Applications range from personalized gifts to unique home decor pieces, each bearing the hallmark of your individual touch.
Embrace the technique, experiment with different designs, and watch as your creations come to life through the interplay of light and shadow on these delicate yet mesmerizing canvases.
Equipment and Image Selection Tips
What equipment do you need and how can you select the best images for creating engaging lithophanes?
To craft stunning lithophanes, make sure you have a well-calibrated 3D printer with precise axis steps and retraction settings. Opt for high-contrast JPG images as they yield excellent results.
When selecting images, prioritize those with distinct light and dark areas to enhance the final lithophane effect. Remember, the image's contrast will determine the clarity of the lithophane projection.
Conversion and Initial Steps Guide

To smoothly shift into creating lithophanes, familiarize yourself with the conversion process and initial steps. Before diving in, make sure you have a high-contrast JPG image ready for conversion.
Utilize online tools to convert your image into an STL file suitable for lithophane creation. Start with simple designs to grasp the process, gradually progressing to more intricate shapes.
When selecting software, opt for a slicer with the infill percentage set to 100%. This will guarantee that your lithophane is solid and well-defined. By following these initial steps, you'll set a strong foundation for designing and customizing your unique lithophanes in the next stage.
Designing and Customizing Techniques
For those well-versed in the conversion process and initial steps of lithophane creation, the next stage involves delving into mastering designing and customizing techniques to enhance your creations further. Engage in the design process by uploading your chosen image, selecting the FLAT type, and adjusting size, resolution, and thickness.
Personalize your lithophane by tweaking settings like nozzle width and image effects for a unique touch. Consider different orientations for printing – vertical for higher resolution or horizontal for quicker prints. Experiment with settings such as jerk, speed, and movement speed to achieve your desired lithophane quality.
Customization options are abundant, allowing you to infuse your lithophanes with individuality and creativity.
Slicing and Printing Considerations

Consider adjusting your slicing and printing settings to optimize the quality and efficiency of your lithophane prints. When preparing to print your lithophane, keep in mind the importance of selecting the right parameters for a successful outcome. Here is a table summarizing key considerations:
| Slicing Considerations | Printing Considerations |
|---|---|
| Printing Orientation | Layer Height |
| Jerk Settings | Printing Speed |
| Speed Settings | Movement Speed |
| Horizontal vs. Vertical Printing |
Filament Choices for Optimal Results
Choosing the right filament is essential for achieving excellent results when printing lithophanes. Opt for White PLA for its translucency and ease of printing, ensuring your lithophanes come out beautifully.
Consider factors like environmental impact, energy efficiency, and the desired effects in your prints when selecting a filament. Materials like PETG offer heat resistance, while Nylon provides translucency for unique outcomes.
Each filament type, such as PLA, White PLA, PETG, Nylon, and ABS, has distinct characteristics to suit different needs. Keep in mind PLA's low glass change temperature and PETG's durability when deciding on the best filament for your lithophane projects.
Make a thoughtful choice based on your preferences and the specific qualities you desire in your final prints.
Advanced Methods and Recommendations

To explore advanced methods and recommendations in lithophane printing, investigate SLA printing with resin-based SLA printers for enhanced detail and precision. When diving into advanced lithophane creation, consider the table below for additional insights:
| Advanced Methods | Recommendations |
|---|---|
| Utilize SLA Printing | Achieve finer details and improved accuracy. |
| Experiment with Resin Types | Explore different resin materials for varied effects. |
| Optimize Printing Settings | Fine-tune exposure times and layer heights for best results. |
Frequently Asked Questions
Can Lithophanes Be Created in Colors Other Than White?
Yes, you can create lithophanes in colors other than white by experimenting with colored filaments like PETG or ABS. Adjusting the filament choice alters the translucency and appearance of the lithophane, offering diverse creative possibilities.
Is It Possible to Combine Multiple Images in a Single Lithophane?
Like blending colors on a canvas, you can merge multiple images into a single lithophane. Adjust design lines or add layers on the Z-Axis for a custom masterpiece. Let your creativity shine through this unique art form.
How Can I Add Backlighting to Enhance My Lithophane Display?
To add backlighting to enhance your lithophane display, place a light source behind it. Choose LEDs or candles for different effects. Experiment with different positions for best illumination. Transform your lithophanes into enthralling masterpieces with creative lighting techniques.
Are There Any Post-Processing Techniques to Improve Lithophane Quality?
To enhance lithophane quality, consider sanding the back for a smoother finish and using LED lights for backlighting. These methods can elevate your masterpiece to a new level, making it truly shine.
Can Lithophanes Be Printed on Materials Other Than Plastic Filament?
Yes, you can print lithophanes on various materials beyond plastic filament. Consider experimenting with materials like wood, acrylic, or even metal for unique effects. Adjust settings accordingly for best results on alternative materials.
Conclusion
Now that you've explored the world of lithophanes, consider this: did you know that the average thickness of a lithophane sheet is only 3mm?
Imagine the intricate designs and detailed shadows that can be created with such a thin material.
With the right equipment and techniques, you can bring your own unique vision to life through the art of lithophanes.
Start creating your masterpiece today!