Did you know that Ultimaker Cura's Ironing feature contains hidden settings that can greatly impact the quality of your 3D prints? With the ability to achieve flawless top surfaces, this feature is a game-changer for enhancing the overall finish of your prints. By delving into the nuances of Ironing settings within Ultimaker Cura, you can access a world of possibilities to elevate your 3D printing projects to the next level. Explore the secrets behind Ironing and enhance your printing experience today.
Ironing Feature Overview
If you're looking to enhance the top surface quality of your 3D prints, delving into the Ironing Feature Overview is the key to achieving those smooth finishes.
This function, introduced by Ultimaker's slicer Cura and now a standard feature in many popular slicers, works wonders by smoothing out flat top surfaces. By keeping the nozzle hot after printing, ironing softens the filament on top surfaces, effectively filling holes and gaps to provide a flawless finish.
This results in top layers that aren't only smoother but also increase the contact surface for improved part adhesion. Understanding the intricacies of ironing settings such as pattern, line spacing, flow, and inset can make a significant difference in the quality of your prints.
Advantages and Disadvantages
When evaluating the ironing feature in Ultimaker Cura, it's important to weigh its advantages and disadvantages for your 3D printing projects. The ironing feature offers smoother top layers and maximizes contact surface when gluing parts, enhancing the overall finish of your prints. However, it comes with drawbacks such as increased printing times, potential extruder clogging on large surfaces, and the risk of bumps with improper settings. Consider the following table to help you make an informed decision:
| Advantages | Disadvantages |
|---|---|
| Achieves smoother top layers | Increases printing times |
| Maximizes contact surface when gluing parts | Extruder can get clogged on large surfaces |
| May cause bumps with improper settings |
Enabling Ironing in Ultimaker Cura
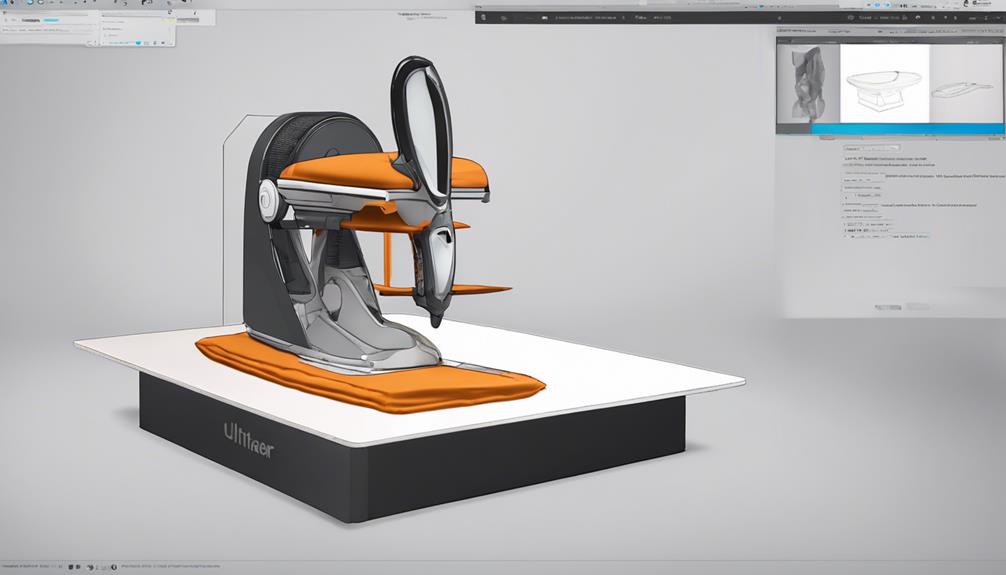
To enable the Ironing feature in Ultimaker Cura, simply open the print settings panel and navigate to Manage Settings Visibility. Once there, search for Ironing and enable it. Under the Shell submenu, check Enable Ironing.
By following these steps, Ironing will be activated for your prints, allowing for smoother top layers. Remember to adjust other Ironing settings like Iron Only Highest Layer, Ironing Pattern (Zigzag or Concentric), Ironing Line Spacing, Ironing Flow, and Ironing Inset based on your preferences.
With Ironing enabled, your top surfaces will be enhanced, maximizing contact surface for glued parts. Enjoy the benefits of this feature while being mindful of potential increases in printing times and the risk of clogs on large surfaces.
Ironing Settings Configuration
Configure your Ironing settings to achieve the desired surface finish for your 3D prints. In Ultimaker Cura, you can adjust Iron Only Highest Layer, Ironing Pattern (Zigzag or Concentric), Ironing Line Spacing, Ironing Flow, and Ironing Inset.
Select Iron Only Highest Layer to apply ironing only on the top layer. Choose between Zigzag or Concentric patterns for different aesthetic outcomes.
Adjust the Ironing Line Spacing to control the distance between lines, impacting the smoothness of the surface.
Modify the Ironing Flow to change the amount of filament extruded during ironing.
Impact on Precision and Tolerances
Ironing feature in Ultimaker Cura has minimal impact on model size, making it suitable for functional parts with tight tolerances. When considering precision and tolerances, here's what you should know:
- Ironing doesn't have a substantial effect on the model size.
- It can be used for parts requiring precise fits.
- No need to adjust CAD model dimensions due to Ironing.
- Allows for maintaining tight tolerances on critical features.
Frequently Asked Questions
Can Ironing Be Used on Curved Surfaces?
Yes, you can't use ironing on curved surfaces. While ironing is great for smoothing flat top layers, it won't work well on curved areas. Stick to flat surfaces for the best results and avoid using it on curves.
Does Ironing Affect the Strength of the Print?
Ironing in 3D printing doesn't greatly impact the strength of the print. It mainly enhances surface quality. Remember, increase in print time is a trade-off for smoother top layers. Carefully adjust settings to avoid clogs.
Is Ironing Compatible With Dual Extrusion Printers?
Yes, ironing is compatible with dual extrusion printers. It can be used to smooth out top layers on both single and dual extrusion prints, enhancing the surface finish of your models for a professional look.
Can Ironing Be Used on Models With Supports?
Yes, ironing can be used on models with supports. It smooths out top surfaces, filling gaps for a polished finish. Remember, enabling ironing in Ultimaker Cura and adjusting settings can enhance your prints with this feature.
Does Ironing Work Well With Flexible Filaments?
When printing with flexible filaments, ironing might not work as well due to the material's properties. It could lead to inconsistencies and affect the final output. Consider testing it carefully to determine compatibility.
Conclusion
So, next time you're looking to achieve that flawless finish on your 3D prints, don't forget to enable Ironing in Ultimaker Cura.
Remember, 'smooth seas don't make skillful sailors.' Keep experimenting with the settings and embrace the challenges – that's how you'll truly master the art of 3D printing.
Happy printing!