When fine-tuning your Ender 3's bed stability, you'll find that small adjustments can make a significant difference in your printing results. From tightening bolts to upgrading bed springs, these secrets can transform your printing experience. But remember, the key lies in understanding the root causes of instability and implementing targeted solutions. Stay tuned to uncover the nuanced strategies that can take your Ender 3's performance to the next level.
Identifying Bed Wobble Solutions
When troubleshooting bed stability issues on your Ender 3, identifying solutions for bed wobble is essential for optimal printing results.
To fix bed wobble, start by tightening the loose bolts that attach the bed to the Y Carriage. Grab a wrench to hold the nut on the Y Axis carriage while you tighten the screws. Make sure all four screws are checked and adjusted for stability.
By taking these steps, you can greatly reduce bed wobble and improve the overall performance of your 3D printer.
Addressing Uneven Bed Height Issues
To address uneven bed height issues on your Ender 3, begin by examining the alignment between the X axis and carriage for any discrepancies.
Disassemble the printer to adjust the X Axis alignment and tighten securing screws to guarantee proper leveling.
Check under the bed for any persistent issues causing the height differences. If you notice misalignment, take the necessary steps to correct it to achieve a more uniform bed height.
This adjustment can greatly improve the stability of your printer's bed and prevent print quality issues related to uneven surfaces. By addressing these alignment issues promptly, you can enhance the overall printing experience on your Ender 3.
Preventing Heated Bed Screw Turning
To prevent the issue of heated bed screws turning in place on your Ender 3, contemplate adding nylon washers and nuts as a preventive measure. By placing a nylon washer between the screw head and the heated bed, you create friction that helps keep the screw in place.
Additionally, securing the screws with nuts guarantees further stability. This simple solution can prevent the screws from loosening during printing and causing bed leveling issues.
Make sure to repeat this process for all four screws to guarantee uniform stability across the bed. If the problem persists even after adding washers and nuts, it may be necessary to contemplate replacing the heated bed for long-term stability.
Upgrading to Sturdier Bed Springs
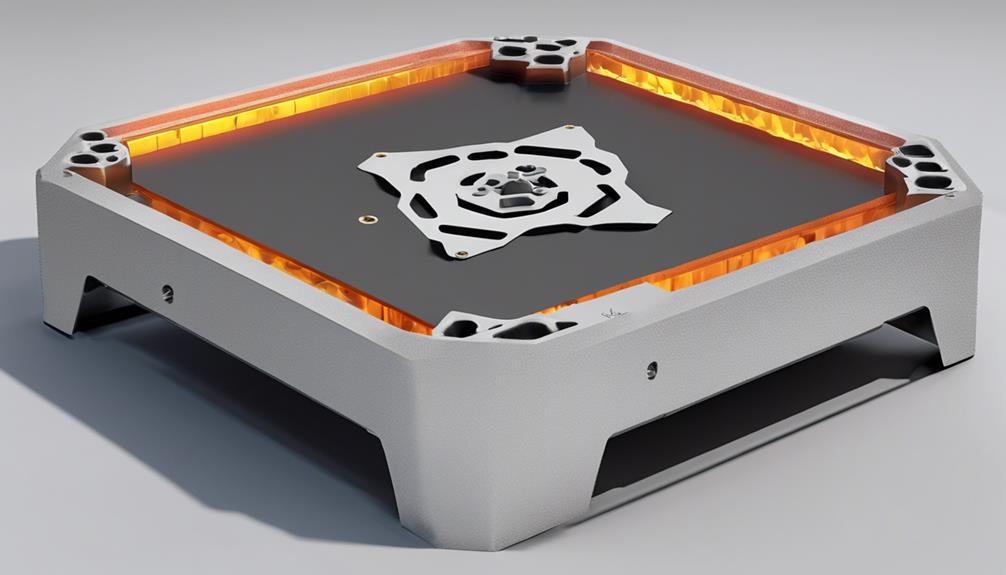
Consider upgrading your Ender 3 bed springs with sturdier yellow springs for improved stability. Swapping out the original springs for firmer ones can help prevent bed wobbling during prints.
The yellow springs offer better support and reduce the chances of leveling issues caused by soft springs compressing over time. To install them, simply replace the existing springs with the sturdier yellow ones, ensuring they're securely in place.
This upgrade can make a significant difference in maintaining a level print bed, leading to more consistent print quality. By enhancing the stability of your bed with these upgraded springs, you can tackle printing challenges with greater confidence and precision.
Implementing X Axis Alignment Fixes
Aligning the X Axis on your Ender 3 printer can greatly enhance bed stability and print quality.
To implement X axis alignment fixes, start by disassembling the printer to access the X Axis components. Check for any misalignment between the X axis and carriage, as this can lead to height differences on the bed.
Adjust the X Axis alignment carefully and guarantee all securing screws are tightened properly.
Reassemble the printer and test the bed stability. If needed, make further adjustments to achieve best alignment.
Taking the time to align the X Axis correctly will help prevent bed leveling issues and improve the overall printing experience on your Ender 3.
Frequently Asked Questions
How Can I Reduce Noise From the Ender 3 Bed?
To reduce noise from the Ender 3 bed, tighten loose bolts on the Y carriage. Hold the nut in place using a wrench while securing screws. Check and adjust all four screws for stability.
Are There Alternative Methods to Enhance Bed Stability?
Looking to boost bed stability on your Ender 3? Tighten loose bolts, address height differences, prevent screws from turning, or swap to sturdier springs. Easy fixes to level up your printing game!
What Should I Do if the Bed Leveling Knobs Are Too Tight?
If the bed leveling knobs are too tight, gently loosen them to avoid strain on the adjustment mechanism. Carefully adjust each knob until you reach the desired level. Over-tightening can lead to issues, so be cautious.
Can Using a Glass Bed Improve Ender 3 Stability?
Using a glass bed can enhance Ender 3 stability by providing a flat surface and better adhesion. Consider this upgrade for improved printing results and easier bed leveling. Guarantee proper installation and adjustments for peak performance.
Is There a Way to Prevent Bed Adhesion Issues During Prints?
To prevent bed adhesion issues during prints, make sure proper leveling and bed surface preparation. Clean the bed, use adhesion aids like glue sticks or hairspray, and adjust nozzle height for best first layer adhesion.
Conclusion
To sum up, by following the troubleshooting tips for bed stability on your Ender 3 printer, you can guarantee smoother printing and better quality results.
Remember, a stable bed is the foundation for successful 3D printing, like a sturdy ship sailing smoothly on calm waters.
Don't let bed wobble or uneven height steer you off course – take control and make the necessary adjustments for a more reliable printing experience.