Imagine a serene library suddenly disrupted by a blaring alarm. Just like that, the whirring and buzzing of your Ender 3 printer can shatter the peace of your workspace. But what if there was a way to transform that disruptive cacophony into a gentle hum, allowing you to focus on your work undisturbed? With the ultimate fan upgrade, you can turn your Ender 3 into a silent printing companion that effortlessly churns out creations with minimal noise. Curious to learn how this transformation is possible?
Necessary Components and Tools
For the Ender 3 printer fan upgrade, you'll need specific components and tools to enhance the cooling system efficiently.
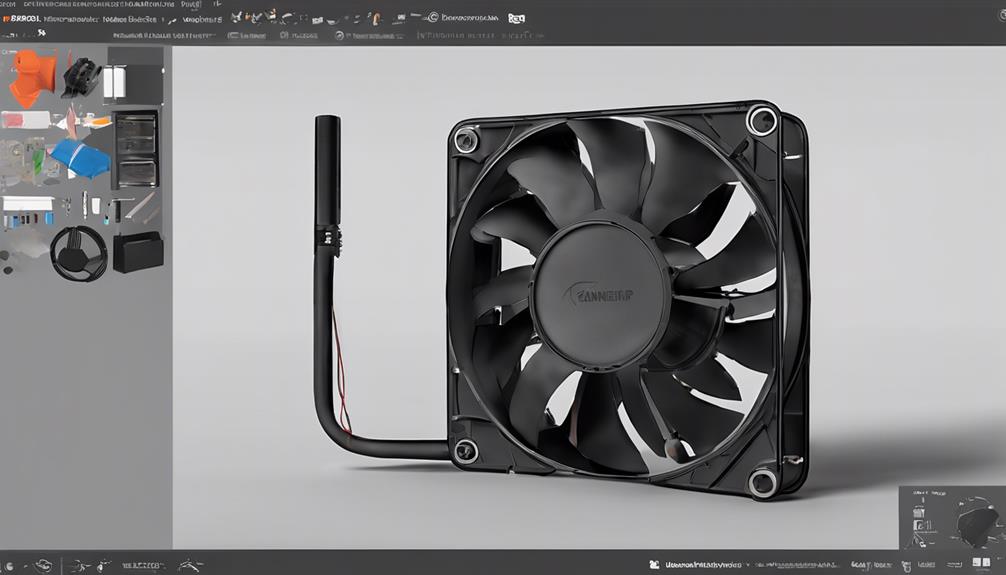
Grab 2 Noctua 40x20mm fans, 1 Noctua 40x10mm fan, and at least 3 buck converters (4 if your PSU fan is 24V).
Equip yourself with a multimeter if using cheaper buck converters without displays. Prepare 10 20mm m3 bolts, heat-shrink cable sleeves, a heat gun, Allen Keys, and Side Cutters/Pliers.
These tools and components are essential for optimizing your printer's cooling performance.
Once you have these items ready, you'll be on your way to achieving a quieter and more effective printing experience with your Ender 3.
Fan Duct/Fang Selection Tips
Consider exploring different fan duct options on Thingiverse to enhance your Ender 3 printer's cooling performance. The right fan duct can greatly improve airflow around the nozzle, resulting in better print quality.
When selecting a fan duct or fang, keep in mind that some designs may slightly increase the noise from the part cooling fan. If noise is a concern, look for alternatives that prioritize quieter operation without compromising cooling efficiency.
Experimenting with various designs can help you find the balance between cooling performance and noise levels that works best for your setup. Take the time to test different options to achieve the best cooling solution for your printing needs.
Hot End and Mainboard Fan Replacement Steps
To upgrade the hot end and mainboard fans on your Ender 3 printer, you'll need to swap out the stock fans with Noctua 40x20mm and 40x10mm fans, respectively, and adjust the voltage using buck converters.
Begin by disconnecting the printer and removing the stock fans carefully. Install the Noctua 40x20mm fan for the hot end and replace the mainboard fan with the Noctua 40x10mm fan. Use buck converters to regulate the voltage to 12V for both fans.
Secure the new fans in place with the necessary tools and hardware. Confirm proper connections and test the fans before closing up the printer.
This upgrade will greatly reduce noise and enhance your printing experience.
PSU Fan Replacement Guide
If you've successfully upgraded the hot end and mainboard fans on your Ender 3 printer, the next step is replacing the PSU fan to further enhance its performance. Follow these steps to replace the PSU fan:
| PSU Fan Replacement Steps | Description |
|---|---|
| Identify Voltage | Check PSU fan voltage (12V or 24V) |
| Disconnect Power | Unplug printer and PSU cable |
| Open PSU | Remove bolts and open the PSU |
| Replace Fan | Swap with Noctua fan & new cover |
| Reconnect and Close | Connect cables & reinstall the PSU |
Completing this upgrade will contribute to a quieter printing environment and improve overall performance.
Noise Level Comparison and Cost Estimate
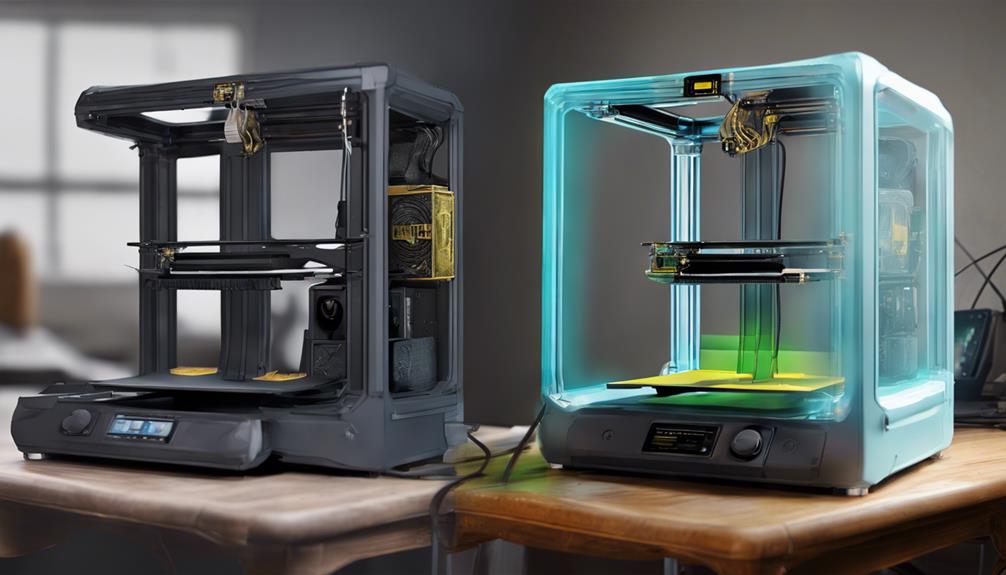
Compare the noise levels between the stock Ender 3 Pro setup and the Noctua fan upgrade to understand the significant reduction achieved through the fan replacement.
The stock Ender 3 Pro operates at around 56dB, while the Noctua fan setup brings the noise level down to a quiet 37dB. This upgrade results in a remarkable noise reduction of about 20dB, creating a more pleasant printing environment.
The estimated cost for the fan upgrade components is approximately $80, offering a reasonable investment for a significant decrease in operating noise. With this fan upgrade, you can enjoy a quieter printing experience without compromising on performance, making it a worthwhile enhancement for your Ender 3 Pro.
Frequently Asked Questions
Can I Use Different Fan Sizes for the Upgrades?
Yes, you can use different fan sizes for the upgrades. Guarantee compatibility with your printer and consider adjustments for proper fit and performance. Select quality fans like Noctua for best results in enhancing your printing experience.
Do I Need Any Soldering Skills for This Upgrade?
You won't need any soldering skills for this upgrade. Simply follow the steps provided using basic tools and components like Noctua fans, buck converters, and other accessories. Enhance your Ender 3 printer without the need for soldering.
Should I Adjust Fan Speeds After Installation?
After installation, adjust fan speeds if necessary for peak performance. Use fan control settings in your printer's software to regulate airflow and noise levels. Fine-tuning fan speeds guarantees efficient cooling and quieter operation for your upgraded setup.
Can I Use the Stock PSU Fan Cover With Noctua Fan?
Yes, you can use the stock PSU fan cover with a Noctua fan. The Noctua fan fits within the stock cover, allowing for a seamless integration without the need for additional modifications.
Will the Noctua Fans Affect the Printer's Warranty?
Surprisingly, the Noctua fans won't affect your printer's warranty. Manufacturers encourage upgrades for better performance. Enjoy the peace of mind with quieter printing and improved airflow. You've got this!
Conclusion
Now that you've upgraded your Ender 3 printer with the ultimate fan upgrade, you'll be printing in silence like a well-oiled machine. Say goodbye to the noisy disruptions and hello to a smoother printing experience.
With this simple upgrade, you'll be able to enjoy high-quality prints without the background hum. Happy printing and may your creations speak louder than words.