When it comes to optimizing your printer for seamless prints, imagine a scenario where every layer aligns flawlessly, creating objects with precision. You've adjusted slicer settings, fine-tuned parameters, and yet, gaps persist. What more can be done to bridge the divide between walls and infill? In this discussion, explore advanced techniques that go beyond the basics. Uncover the nuances of printer optimization to conquer walls-infill gaps swiftly and elevate your 3D printing game to the next level.
Reasons for Walls-Infill Gaps
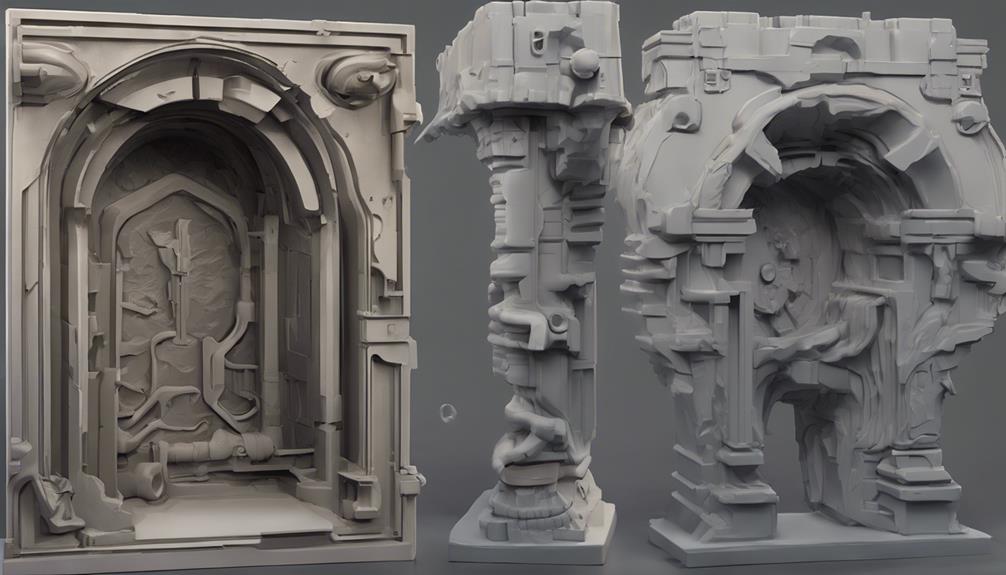
When troubleshooting walls-infill gaps in your 3D prints, start by examining the slicer settings for your specific printer profile. Look into parameters like wall thickness, infill density, and infill pattern to make sure they're optimized for your printer.
Incorrect settings can lead to gaps between the walls and infill, impacting the structural integrity of your prints. Make certain the infill isn't too sparse or the walls too thin, as this can cause separation issues.
Adjust the settings in your slicer software to increase the infill density or adjust the wall thickness to promote better adhesion between the walls and infill. Properly configuring these settings will help eliminate gaps and improve the overall quality of your 3D prints.
Slicer Settings for Infill Overlap
To optimize the infill overlap in your 3D prints, adjust the slicer settings gradually to guarantee proper adhesion between layers. Check the Infill Overlap percentage and make adjustments in small increments.
Different printer profiles have varying default settings, so reset if necessary. By visually illustrating the impact of infill overlap, you can fine-tune your settings effectively.
Keep in mind that adjusting this setting can greatly enhance the structural integrity of your prints. Experiment with different values until you find the best setting that guarantees your walls and infill are properly connected.
Extrusion Temperature Management
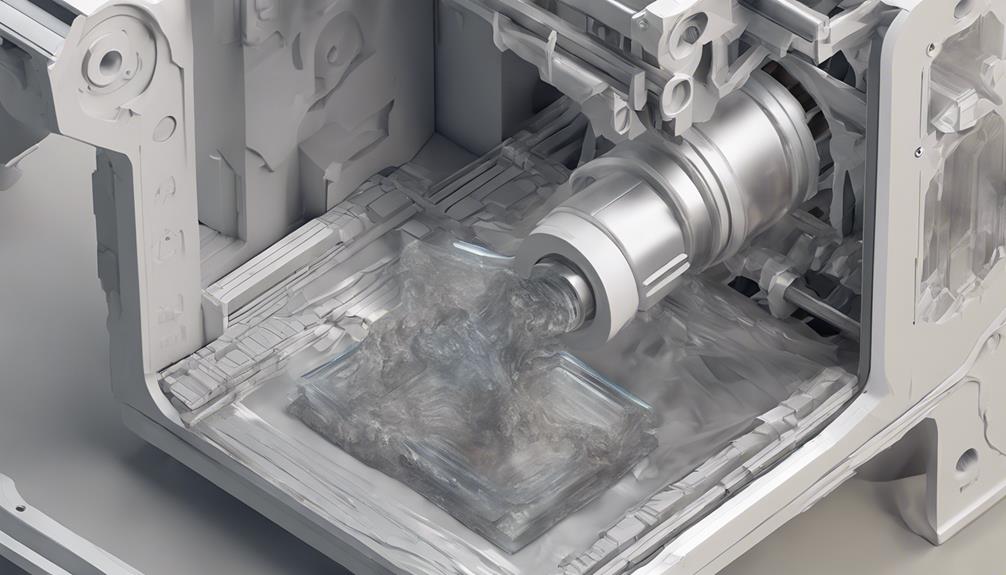
Managing extrusion temperature in 3D printing involves adjusting the temperature gradually to guarantee smooth flow and print quality. Setting the temperature too low can result in under-extrusion, causing gaps in prints, while a temperature that's too high can lead to filament clogging the nozzle.
To optimize temperature, start by following the filament manufacturer's recommendations and then fine-tune as needed. Gradual adjustments allow you to find the perfect balance for ideal flow without compromising layer adhesion.
Keep in mind that temperature also affects the overall print quality, so finding the right temperature is essential for successful 3D prints. By managing extrusion temperature effectively, you can address issues like gaps between walls and infill for better print results.
Movement Speed Optimization
Improving movement speed in 3D printing plays a significant role in achieving excellent extrusion and overall print quality. To optimize movement speed, consider factors like temperature, nozzle size, print speed, and layer height.
Finding the right balance between temperature and filament speed is essential for excellent extrusion. Experiment with reducing movement speed to around 25mm/s to see improvements in extrusion quality.
Keep in mind that movement speed directly impacts how smoothly the material is deposited, affecting the overall finish of your prints. By fine-tuning the movement speed settings, you can enhance the accuracy and consistency of your 3D prints, ultimately leading to better results.
Addressing Under-Extrusion Issues
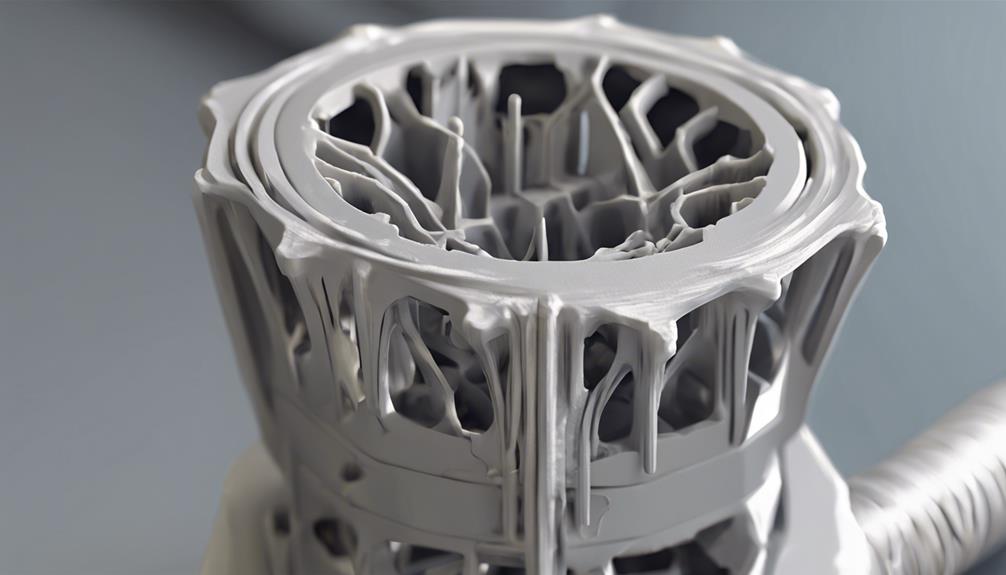
Address under-extrusion issues by identifying signs and systematically addressing variables to improve print quality. When facing under-extrusion, check for signs like inconsistent layer height or visible gaps between lines. Troubleshoot by examining feeder tension, nozzle clogs, or improper filament diameter. Addressing these variables can lead to significant improvements in your prints.
| Under-Extrusion Signs | Troubleshooting Steps |
|---|---|
| Inconsistent layer height | Check feeder tension |
| Visible gaps between lines | Inspect for nozzle clogs |
| Thin or weak prints | Verify filament diameter |
| Skipping layers | Adjust extrusion multiplier |
Frequently Asked Questions
How Does Humidity Affect Extrusion Quality?
Humidity impacts extrusion quality by affecting filament absorption. High humidity can lead to moisture absorption in filament, causing issues like clogs and under-extrusion. Store filament properly and consider using a dry box to maintain ideal printing conditions.
Can Different Filament Brands Impact Print Settings?
Different filament brands can indeed impact your print settings. Guarantee top performance by adjusting slicer settings, temperature, and speed based on the specific filament manufacturer's recommendations. Experiment gradually to find the perfect balance for successful prints.
Why Does the Nozzle Size Affect Print Accuracy?
When the nozzle size changes, print accuracy shifts due to altered extrusion width. Smaller nozzles create finer details but extend print times. Larger nozzles increase layer thickness and speed but may sacrifice intricate elements. Experiment for best results.
Is There a Recommended Order for Adjusting Settings?
Start adjusting settings by tweaking slicer values for walls-infill gaps, followed by extrusion temperature and movement speed. Prioritize slicer settings, then temperature, and speed. Progress systematically to maintain balance. Experiment incrementally for best results.
What Role Does Ambient Temperature Play in Printing?
In 3D printing, ambient temperature impacts print quality. High temps can cause filament to soften prematurely, leading to poor layer adhesion. Low temps may hinder proper extrusion. Maintain a stable room temperature for better prints.
Conclusion
Now that you've fine-tuned your slicer settings and optimized your printer, you're ready to blast through walls-infill gaps like a speeding bullet.
Remember, just like a skilled archer hitting the bullseye, precision and attention to detail are key in achieving flawless prints.
Keep calibrating and tinkering with your settings to guarantee your 3D prints are as smooth as a well-oiled machine.
Happy printing!