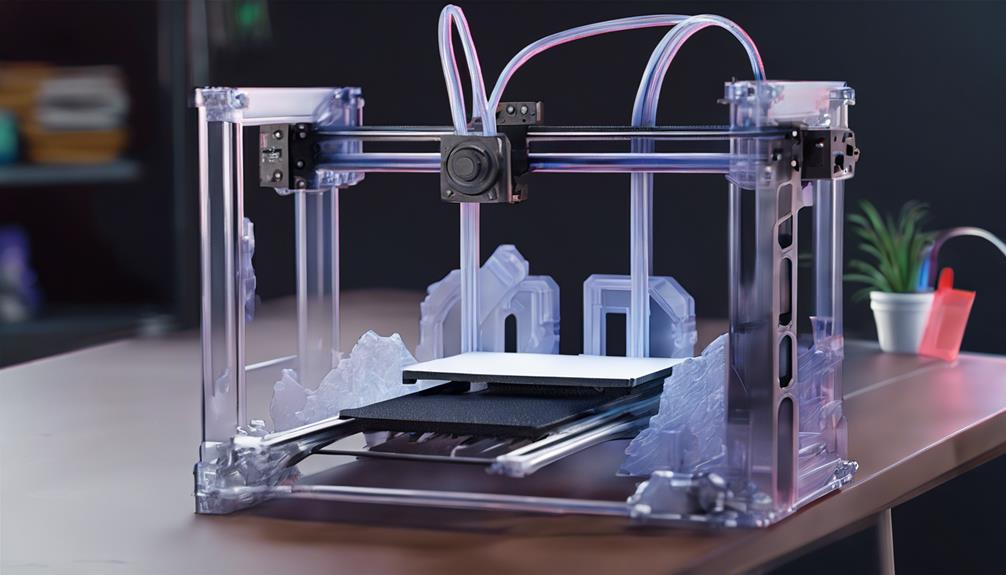
To achieve peak printing quality with your Ender 3, mastering the Z offset is crucial. Fine-tuning this setting guarantees precise distance control between the nozzle and the print bed, a critical factor for successful prints. By understanding how to adjust the Z offset effectively, you pave the way for improved first layer adhesion and overall print accuracy. The Z offset adjustment might just be the missing piece in your 3D printing puzzle, leading to smoother prints and a more satisfying printing experience.
Understanding the Z Offset Importance

Understanding why adjusting the Z offset is essential can greatly impact the quality of your 3D prints. The Z offset plays a vital role in ensuring the proper distance between the hot end and the print bed. By adjusting this offset, you can fine-tune the first layer adhesion, prevent nozzle issues, and enhance overall print quality.
Whether you're using different bed materials, leveling the bed, or working on complex models, getting the Z offset right is key to successful prints. Incorrect Z offset settings can result in poor adhesion, detachment from the build plate, and ultimately, failed prints. Mastering the understanding of Z offset importance is fundamental to achieving excellent printing results.
Methods for Z Offset Calibration
For precise Z offset calibration on your Ender 3, consider utilizing manual and firmware adjustment methods. Here's a breakdown to help you choose the right method:
| Calibration Method | Description |
|---|---|
| Manual Calibration | Fine-tune the Z offset manually by adjusting the limit switch or rotating the Z rod. This method provides hands-on control over the adjustment process. |
| Firmware Calibration | Preheat both bed and nozzle, disable stepper motors, use the paper method to set the correct distance, save settings, and evaluate print quality for any necessary adjustments. This method offers a more automated approach to Z offset calibration. |
These methods offer different approaches to Z offset calibration, allowing you to choose the one that best suits your preferences and needs.
Manual Z Offset Adjustment Steps

To adjust the Z offset manually on your Ender 3, follow these straightforward steps for precise calibration.
Start by heating the bed for proper expansion.
Next, disable the stepper motors through the printer menu.
Then, loosen the screws on the Z endstop switch and adjust its position to fine-tune the Z offset.
Rotate the Z rod to set the desired distance between the nozzle and the bed.
Use a piece of paper to check the nozzle's proximity to the bed – a slight drag indicates the right Z offset.
Tighten the screws on the Z endstop switch to secure the adjustment.
Firmware Z Offset Calibration Process
When fine-tuning the Z offset through firmware calibration on your Ender 3, you must make sure the bed and nozzle are preheated for accurate adjustments. Begin by preheating both the bed and nozzle to the printing temperature.
Disable the stepper motors to allow manual adjustments. Utilize the paper method to find the ideal distance between the nozzle and the bed. Make slight Z offset adjustments in the firmware settings, taking care not to overshoot.
After setting the Z offset, save the changes in the firmware. Finally, evaluate the print quality to confirm the adjustments have been successful.
This process helps achieve ideal first layer adhesion and enhances overall print quality on your Ender 3.
BLTouch Installation for Auto Bed Leveling

Consider utilizing a helpful BLTouch installation guide for automated bed leveling on your Ender 3. Installing a BLTouch sensor simplifies the bed leveling process by using a plastic probe for accurate measurements. This upgrade can enhance your 3D printing experience and save time on manual leveling tasks.
Check if you need a pin 27 board and firmware update for successful integration. You can find BLTouch sensors for purchase on platforms like Amazon, Banggood, and the Creality website.
Frequently Asked Questions
Can Z Offset Calibration Affect the Overall Print Speed?
Adjusting Z offset won't directly impact print speed but guarantees proper nozzle-to-bed distance for quality prints. Calibration affects adhesion and print success. Regular checks maintain accuracy. Improve print quality by calibrating Z offset accurately.
Is Z Offset Adjustment Necessary for All 3D Printers?
Adjusting Z offset is crucial for all 3D printers. It guarantees proper nozzle-to-bed distance, preventing print issues. Calibration improves adhesion and print quality. Make necessary adjustments for different bed materials or thicknesses to optimize printing results.
What Are the Potential Risks of Incorrect Z Offset Settings?
When your Ender 3's Z offset is off, it's like a ship without a compass – adrift and lost. Incorrect settings risk detachment from the build plate, leading to print failures. Calibrate carefully for smooth sailing.
Can Z Offset Calibration Solve Adhesion Issues With Certain Filaments?
Adjusting your Z offset calibration can indeed resolve adhesion issues with specific filaments. By fine-tuning this setting, you can guarantee the proper distance between the nozzle and bed, enhancing adhesion and print quality.
How Often Should Z Offset Be Recalibrated for Optimal Results?
To maintain peak results, recalibrate Z offset on your Ender 3 whenever changing bed materials or leveling the bed. Regular adjustments guarantee proper nozzle distance, preventing issues and enhancing print quality for successful prints.
Conclusion
You've now mastered the Ender 3 Z offset, ensuring excellent printing quality.
Did you know that proper Z offset calibration can reduce print failures by up to 90%?
By fine-tuning this essential setting, you can achieve flawless first layer adhesion and consistently successful prints.
Keep experimenting and adjusting to reveal the full potential of your Ender 3 3D printer!