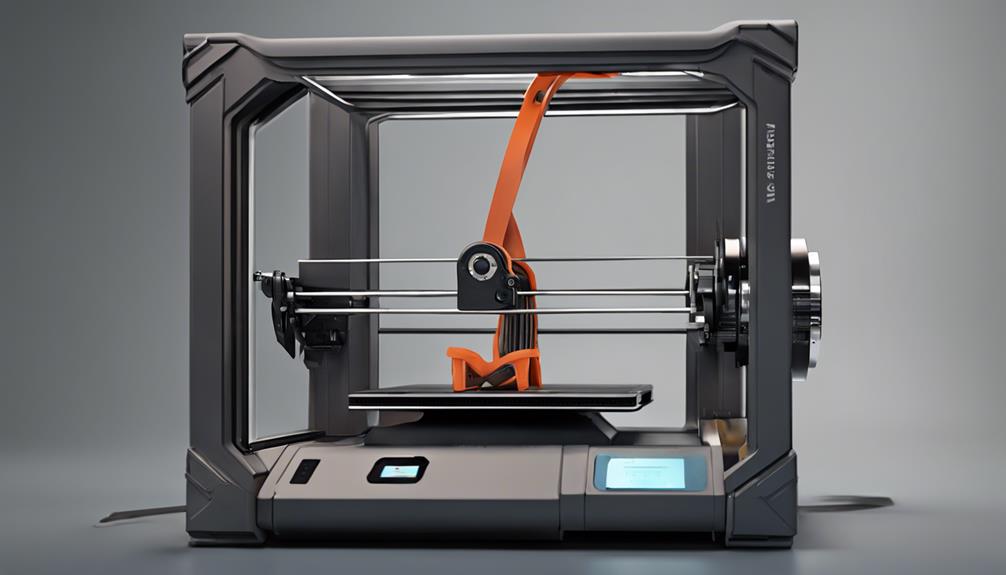
Ensuring ideal belt tension is like laying the foundation for a flawless 3D print. You might be surprised how this seemingly minor adjustment can make or break your printing results. Imagine the difference between a blurry picture and a sharp, detailed image – that's the impact of belt tension on your prints. But how do you know if your belt tension is just right? Stay tuned to uncover the key signs and techniques to achieve the perfect belt tension for excellent print quality.
Importance of Belt Tension for Print Quality

The important belt tension plays a significant role in enhancing the quality of your 3D prints. When your belts are properly tensioned, you can expect smoother prints with fewer visible layer lines.
Loose belts can lead to shifting and skipping gears during printing, affecting the overall print quality. On the other hand, belts that are too tight can also cause issues like visible waves on prints.
Therefore, maintaining consistent and best belt tension is important for achieving high-quality prints. By making sure your belts are correctly tensioned, you can prevent gear skipping and ensure precise print accuracy, ultimately improving the overall quality of your 3D prints.
Adjusting Belt Tension on Ender 3
To achieve peak print quality on your Ender 3, make sure to properly adjust the tension of the X and Y axis belts for smooth and precise prints.
- Loosen the screws on the idler of the X Axis belt.
- Adjust the tension by pulling on the idler and ensuring it's parallel to the X Axis.
- Tighten the screws securely to maintain the desired tension level.
Proper Adjustment Techniques

To achieve excellent print quality on your Ender 3, mastering the proper adjustment techniques is vital. Use the second largest Allen Key provided for adjustments.
Loosen screws on the idler on the far-right side of the X Axis and pull to tension the belt. Make sure the idler is parallel to the X Axis before tightening the screws. Proper tensioning is important as it prevents gear skipping and print issues.
Belt Tensioner Upgrade
Upgrade your Ender 3 belt tensioner to enhance print quality and reliability with easy belt tension adjustments using various available versions for your specific printer model.
- Choose the correct width tensioner for your Ender 3, Pro, or V2.
- Opt for tensioners that allow simple belt tension adjustment with a knob twist.
- Make sure belts are tightened properly and slightly loosened to prevent stretching.
Author Information and Interaction

Consider engaging with Facundo Arceo, a 3D printing enthusiast, and fellow readers in the comment section to share experiences and insights on maximizing belt tension for improved print quality. Facundo provides valuable information on belt tension adjustments and their impact on print quality.
By interacting in the comments, you can ask questions, offer suggestions, and learn from the experiences of others in the 3D printing community. Constructive discussions and respectful feedback are encouraged to foster a collaborative learning environment.
Engaging with the author and fellow enthusiasts can enhance your understanding of belt tension optimization, leading to better print results and overall printing success. Join the conversation and contribute to the collective knowledge on achieving top-notch belt tension for high-quality 3D prints.
Frequently Asked Questions
Can Over-Tightening Belts on the Ender 3 Lead to Print Defects?
Over-tightening belts on the Ender 3 can lead to print defects. It may cause strain on components, affecting print quality. Guarantee belts are tensioned properly for smoother prints. Adjust carefully to prevent issues and maintain peak performance.
Are There Indicators to Visually Check if Belts Need Tension Adjustments?
If you notice print imperfections like layer lines or shifting, it's time to check belt tension. A quick visual inspection can reveal loose belts. Tighten them for smoother prints. You'll see the difference!
What Are the Consequences of Ignoring Belt Tension Maintenance?
Neglecting belt tension maintenance can lead to shifting, skipping gears, and visible waves on prints. Loose belts result in poor print quality. Proper tensioning guarantees accurate prints. Adjust belts using correct techniques to prevent these issues.
How Often Should Belt Tension Be Checked and Adjusted on the Ender 3?
When checking belt tension on your Ender 3, it's advised to inspect and adjust every 3-6 months. Regular maintenance guarantees proper tension, preventing issues during printing and maintaining peak print quality.
Are There Specific Tools or Methods for Measuring Optimal Belt Tension?
When adjusting belt tension on your Ender 3 (Pro/V2), watch out for loose belts causing print issues. Use the second Allen Key for adjustments. Loosen screws, tension the belt, then tighten. Prevent gear skipping for accurate prints.
Conclusion
Guarantee your prints soar like a well-tuned orchestra by mastering the art of belt tension on your Ender 3.
Like a tightrope walker balancing flawlessly in the spotlight, proper belt tension ensures smooth, precise prints with every layer.
Don't let loose belts dampen your printing symphony – tighten them up, align them right, and watch your creations sing with clarity and detail.
Master the tension, master the art of 3D printing.