You might think that leveling your print bed is a time-consuming task, but it's actually an essential step in achieving flawless 3D prints. The precision of your print bed's level can make or break the success of your creations. By mastering this fundamental aspect of 3D printing, you can reach a whole new level of print quality. Want to know how to guarantee your prints turn out perfectly every time?
Importance of Leveling the Print Bed
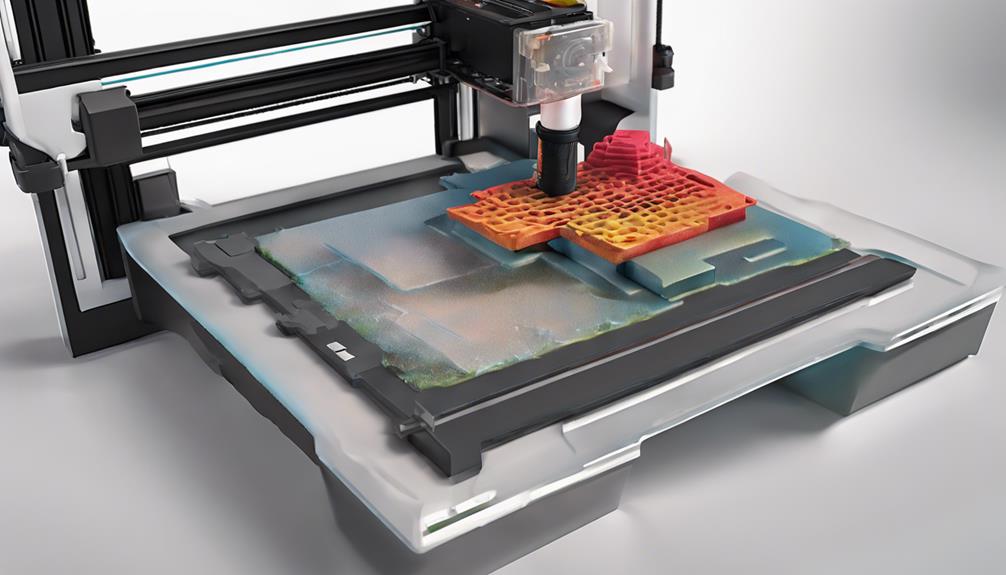
Ensuring your print bed is properly leveled is essential for achieving successful 3D prints. A leveled bed guarantees that the nozzle maintains a consistent distance from the print surface, ensuring proper adhesion and precise layering.
Without proper leveling, issues such as poor adhesion, inconsistent layer thickness, and failed prints may arise. Modern 3D printers often come equipped with leveling routines or auto-leveling features to assist in this process.
Signs of Poor Bed Leveling
To identify signs of poor bed leveling, watch out for issues such as nozzle height inconsistencies, adhesion problems, and filament extrusion irregularities.
Uneven nozzle height can cause poor adhesion or filament deformation, while variations in filament extrusion width and height may signal bed leveling problems.
If you notice bad bed adhesion or inconsistent first layer thickness, it could indicate a poorly leveled bed. These issues can lead to print failures and overall poor print quality.
Keep an eye out for these signs to determine if your print bed needs adjustment. Addressing these issues promptly will help you achieve better printing results and prevent potential printing mishaps.
Techniques for Bed Leveling Adjustment
For efficient bed leveling adjustment, utilize incremental adjustments to fine-tune the gap between the nozzle and the print bed. Begin by adjusting the bed screws in small increments, ensuring the nozzle is at the desired distance from the bed.
Use a standard piece of paper to gauge the nozzle gap, aiming for a slight friction when moving the paper underneath. Check for uniform nozzle height across the X and Y-axis to prevent uneven prints.
Balance bed adhesion and ease of removal by adjusting the leveling screws accordingly. Address any warping issues with a glass sheet or by replacing the bed if necessary.
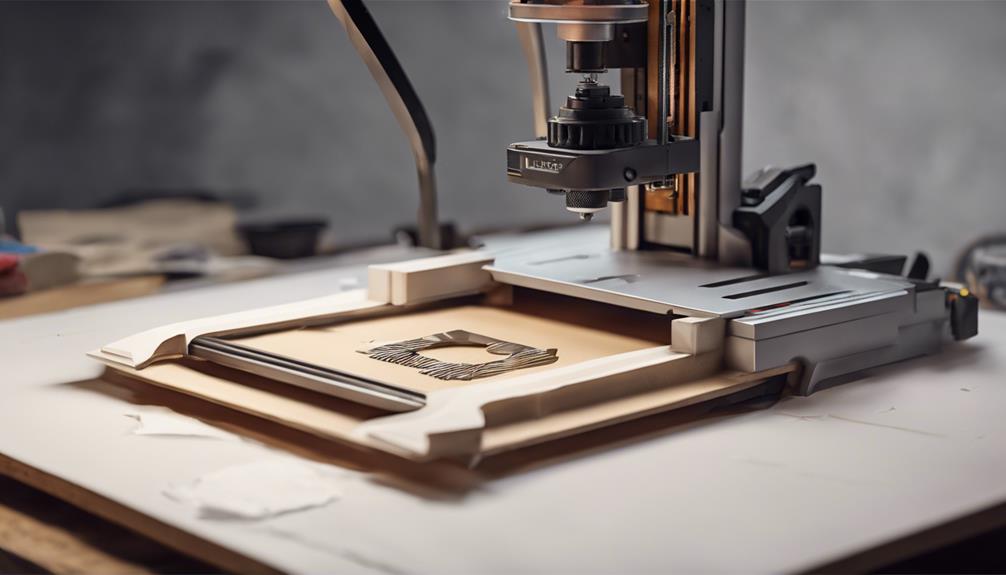
Bed Preparation and Manual Leveling Steps
If you have encountered issues with bed leveling and need effective steps for preparing your print bed manually, the first task is to guarantee a thorough cleaning of both the nozzle and the bed surface. Make sure to heat the bed to the next filament's printing temperature before starting.
Then, adjust all bed screws to increase the gap between the nozzle and the bed. Utilize an index card to adjust the corners and center of the bed surface. Verify the leveling by conducting a single-layer test, and repeat the process if necessary until the bed is level.
These steps will help you achieve a properly prepared and manually leveled print bed for improved printing results.
Considerations for Filament and Bed Leveling

Considering the type of filament and its corresponding printing temperature is crucial for guaranteeing proper bed leveling in your 3D printing process. Different filament materials require specific temperature settings, impacting bed expansion and contraction.
To achieve ideal results, match the bed leveling with the filament's printing temperature. Make sure the bed is preheated adequately before leveling to prevent inconsistencies. Temperature changes can affect the bed's stability, emphasizing the importance of alignment with the specific filament being used.
Frequently Asked Questions
Can I Level the Print Bed Without Using a Piece of Paper?
Yes, you can level the print bed without using a piece of paper. Try adjusting the bed screws in small increments to achieve the desired gap. Check the nozzle height along the X and Y-axis for uniformity to guarantee a leveled bed.
How Often Should I Re-Level My Print Bed?
You should re-level your print bed every few weeks or after major prints. Regular maintenance guarantees ideal printing conditions. Keep an eye on bed adhesion and print quality indicators for timely adjustments.
Is It Necessary to Level the Bed for Every Print?
Yes, it's crucial to level the bed before each print. Uneven surfaces can lead to poor adhesion and failed prints. Take a moment to confirm proper leveling using your printer's features for consistent and successful results.
What Should I Do if My Print Bed Is Still Not Level After Adjustments?
If your print bed is still not level after adjustments, try fine-tuning each corner in small increments. Guarantee uniform nozzle height. Check for adhesion issues. Use an A4 paper for Z-offset. Repeat the leveling process until achieving a leveled bed for perfect prints.
Can Auto-Leveling Features Replace Manual Bed Leveling Completely?
Auto-leveling features can't fully replace manual bed leveling. While helpful, manual adjustments guarantee precise calibration and address individual printer quirks. Combining both methods guarantees top-notch printing results, enhancing your overall printing experience and the quality of your prints.
Conclusion
Now that you've mastered the art of leveling your print bed, get ready to watch your 3D prints soar to new heights!
With proper bed leveling, you'll achieve flawless prints every time, leaving behind the days of failed adhesion and uneven layers.
So go ahead, level up your printing game and create masterpieces that will blow your mind!