When it comes to producing engaging 3D text prints, the process can be quite straightforward and enjoyable with the right tools at your disposal. By mastering the fundamentals of selecting appropriate software and understanding essential design techniques, you are well on your way to creating visually striking text prints that stand out. Stay tuned to uncover valuable insights into optimizing your prints and transforming ordinary text into extraordinary 3D creations that showcase your unique style and creativity.
Selecting the Right 3D Modeling Software
When diving into the world of creating 3D text prints, the initial important step is selecting the right 3D modeling software that suits your needs and expertise level. Choose from popular options like Tinkercad, Fusion360, or SketchUp.
Tinkercad, a free and user-friendly choice, is great for beginners due to its simple interface and browser-based platform. Once you've picked your software, start by creating a base and positioning your text correctly. Remember to export the file in .STL format for 3D printing. If necessary, add holes for screws to secure your design.
Getting the right software sets the foundation for your 3D text printing journey, so choose wisely to match your skills and project requirements.
Step-by-Step Text Design Process
After selecting the right 3D modeling software for your project, the next step in your journey towards creating 3D text prints involves the step-by-step text design process.
Begin by opening your chosen software and creating a new project. Select the text tool and input the desired text, adjusting the font, size, and alignment as needed. Position the text within your project space, ensuring it fits well and looks balanced.
You can also experiment with different effects like beveling or extrusion to enhance the text's appearance. Once you're satisfied with the design, export the file in .STL format to prepare it for 3D printing.
This process sets the foundation for transforming your text into a tangible 3D print.
Optimizing Slicer Settings for Printing

To optimize your slicer settings for printing 3D text, adjust the layer height to suit the model's dimensions and guarantee high wall thickness for solid letters. Consider the model's height when selecting the layer height to secure a smooth finish.
Opt for a high infill percentage to add strength to the structure while balancing print time and material usage. Increasing the number of top layers enhances the visual appeal of the text, providing a more polished look.
Enabling ironing can help in achieving a smoother top surface. Experiment with different settings and test prints to find the best configuration for your specific 3D text project.
Bonus: Turning Handwritten Text Into 3D
To effortlessly transform handwritten text into 3D prints, try utilizing a marker to draw your text and then convert it to SVG before importing it into Tinkercad for the final 3D printing process. By drawing your text with a marker, you can maintain a personalized touch in your 3D prints.
After scanning and converting it to SVG format, Tinkercad allows you to easily import the file and further customize the text or combine it with other designs. This method offers a creative way to incorporate unique handwritten elements into your 3D projects, making them stand out and adding a personal flair to your creations.
Experiment with different handwriting styles and see how they translate into compelling 3D prints.
Explore Recommended Products for Enhancements
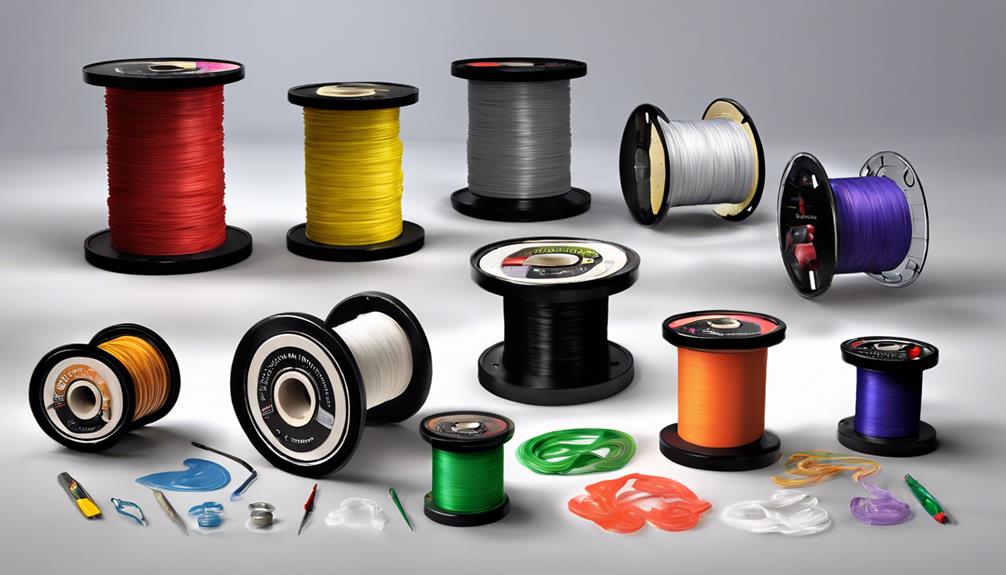
Discover handpicked 3D printers, filaments, and upgrades in our recommended products section for enhancing your 3D printing projects. Choosing the right tools can make a significant difference in the quality of your prints.
Consider high-quality filaments for vibrant colors and sturdy prints. Upgrading your printer with features like auto-bed leveling or improved extruders can enhance print accuracy and consistency.
Look for printers with a large build volume if you plan on creating larger text prints. Additionally, accessories like specialized nozzles can help achieve finer details in your text designs.
Explore these recommended products to take your 3D text printing to the next level with ease.
Frequently Asked Questions
Can I Use Colored Filaments for My 3D Text Prints?
Yes, you can use colored filaments for your 3D text prints. Choose vibrant hues to enhance your designs. Experiment with various colors to create eye-catching and personalized text prints that stand out. Let your creativity shine!
How Can I Add Backlighting to My 3D Printed Text?
To add backlighting to your 3D printed text, consider using LED strips or small LED lights positioned behind the text. Illuminate your creations effectively for a stunning display. Make sure to plan the placement of the lights to achieve the desired effect.
What Are the Best Practices for Painting 3D Printed Text?
Position your 3D printed text for easy painting. Start with a primer for better adhesion. Apply thin, even coats of acrylic paint. Let each layer dry before adding more. Seal with a clear coat for protection and a polished finish.
Is It Possible to Embed LEDS in 3D Printed Text?
Yes, you can embed LEDs in 3D printed text. Make sure the model has sufficient space for wiring. Position the LEDs strategically within the design. When printing, consider using translucent filament for better light diffusion. Illuminate your creations with ease.
How Can I Achieve a Glossy Finish on My 3D Text Prints?
To achieve a glossy finish on your 3D text prints, try using a high-quality filament and adjusting your printer settings for smoother layers. Experiment with post-processing techniques like sanding and coating for a professional look.
Conclusion
Now that you've mastered the art of creating stunning 3D text prints, imagine holding your personalized creation in your hands, feeling the intricate details and admiring the unique design.
The possibilities are endless when it comes to turning your ideas into tangible works of art. So grab your 3D modeling software and start bringing your imagination to life with your own customized text prints!