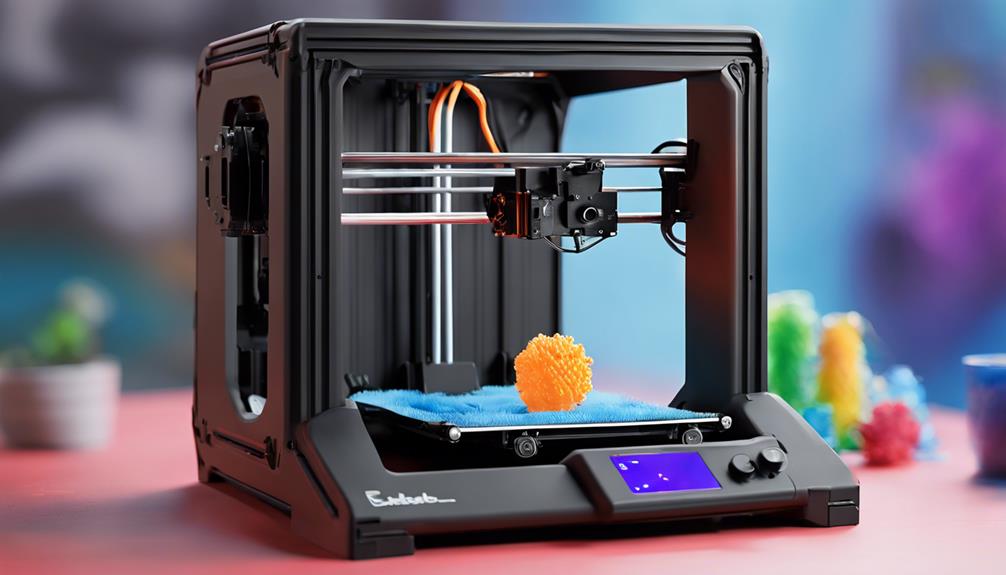
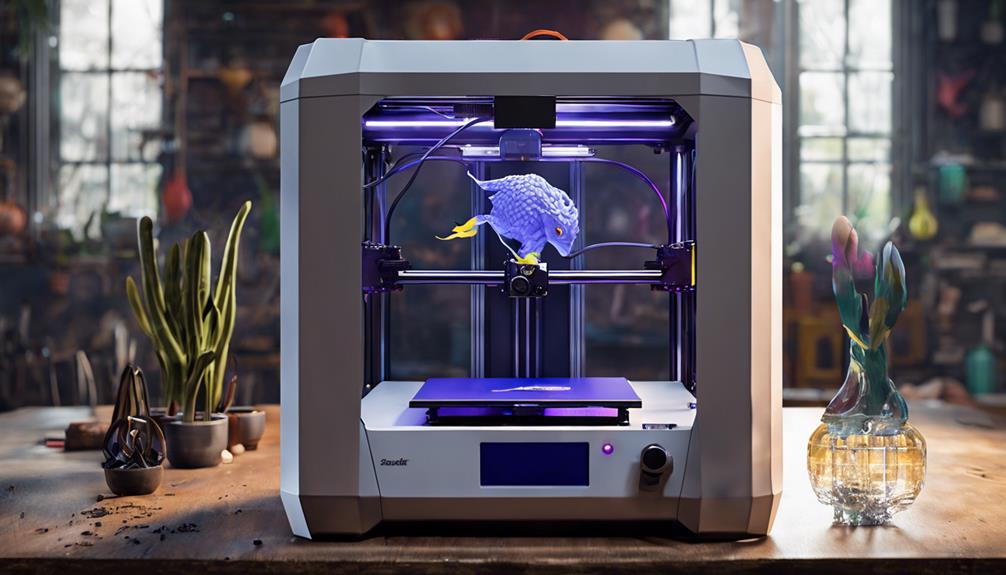
Having started the journey of mastering PETG printing on the Ender 3 Series, I've come to realize the intricate dance of temperature control and bed adhesion. It's a delicate balance that can make or break the quality of your prints. As I experimented with enhancements and fine-tuned settings, a world of possibilities opened up, promising improved outcomes. But the real key lies in the nuances of retraction, cooling, and strategic approaches that elevate your prints to a new level of precision and finesse. Let's uncover the secrets together.
Temperature and Bed Adhesion Settings
Mastering PETG printing on Ender 3 series begins with understanding the essential temperature and bed adhesion settings. For best results, I set my Ender 3 to a temperature range of 220°C to 240°C, as recommended. This range guarantees a balance between quality and strength in my PETG prints.
When it comes to bed adhesion, I aim for a temperature slightly above 80°C to achieve the strongest adhesion. Maintaining the right bed temperature is vital to prevent warping issues during printing.
Build Surface and Adhesion Enhancement
To enhance adhesion on the build surface, consider utilizing Kapton tape or blue painters tape for improved printing results. When dealing with PETG on an Ender 3 printer, these enhancements can make a significant difference in the quality of your prints.
Here are some key points to remember:
- Kapton tape and blue painters tape are effective options.
- Proper application is essential for adhesion improvement.
- Make sure the build surface is clean before applying the tape.
- Adjust the print bed temperature accordingly for best results.
- Experiment with different tape types to find the best fit for your printing needs.
Skirt, Brim, and Raft Recommendations
For optimal adhesion and print stability, consider implementing skirt, brim, or raft functionalities in your PETG prints on the Ender 3 series printers.
Skirts are beneficial for priming the extruder before the actual print, aiding in filament flow consistency. They also help in identifying any leveling issues early on.
Brims, especially when set at 85°C, enhance adhesion to the bed, reducing the chances of warping or detachment during printing.
Rafts provide a larger base for models with small contact areas, increasing stability.
When deciding between these options, consider the specific requirements of your print to ensure successful outcomes with PETG on your Ender 3.
Retraction Settings and Optimization
Optimizing retraction settings is vital for achieving clean and precise PETG prints on the Ender 3 series printers. To guarantee successful prints, consider the following:
- Retraction Distance plays a significant role in reducing stringing.
- Retraction Speed impacts the speed at which filament is pulled back.
- Coasting can help eliminate excess material at the end of each layer.
- Z Hop can prevent the nozzle from dragging across the print.
- Experiment with different settings to find the best configuration for your specific setup.
Quality, Speed, and Cooling Strategies
Implementing effective cooling strategies during the printing process is essential for maintaining quality and speed when working with PETG on Ender 3 series printers. By optimizing cooling, you can enhance detail and prevent overheating issues. Here's a breakdown of strategies to contemplate:
| Detail Prints | Strength Prints |
|---|---|
| Increase fan speed for intricate features. | Moderate fan speed to maintain layer adhesion. |
| Utilize cooling towers for complex geometries. | Avoid excessive cooling to prevent layer separation. |
| Adjust fan duct positioning for even cooling. | Fine-tune fan speed based on print intricacy. |
Frequently Asked Questions
Can I Use a Glass Bed for PETG Printing on Ender 3?
I recommend avoiding a glass bed for PETG printing on my Ender 3. Glass can cause warping issues. Instead, opt for a BuildTak surface or use Kapton tape for better adhesion. This choice has improved my prints greatly.
Do I Need to Adjust Retraction Settings for Petg?
I adjust my retraction settings for PETG printing. It's similar to PLA settings, with 6.5mm distance and 25mm/s speed being ideal. PETG's unique properties may require some tweaking, but this setup works well for me.
Is a Cooling Fan Necessary for PETG Prints?
A cooling fan for PETG prints isn't essential but enhances details post-initial layers. Like adding sprinkles to a cupcake, the fan boosts intricacies. It's a choice, not a must, for me as I print.
Can I Print PETG Faster for Quicker Results?
I can print PETG faster for quicker results by adjusting settings like print speed between 30-50mm/s, maintaining bed temperature at 85°C for best adhesion, and ensuring a retraction distance of 6.5mm. These tweaks enhance efficiency without compromising quality.
How Important Is an Enclosure for PETG Printing on Ender 3?
An enclosure is beneficial for PETG printing on Ender 3 to prevent warping. It helps maintain a consistent temperature, aiding in successful prints. While not mandatory, it positively impacts print quality and reduces potential issues.
Conclusion
To sum up, becoming proficient in PETG printing on the Ender 3 Series demands patience and experimentation.
While it may appear challenging at first, discovering the right balance of settings and techniques will ultimately lead to successful and high-quality prints.
Don't be disheartened by initial setbacks – with practice and persistence, you can achieve impressive results that will make your 3D printing projects shine.