Have you ever wondered if a simple nozzle replacement could greatly enhance the quality of your 3D prints with the Ender 3? The process might hold more benefits than you realize. By taking the time to understand the intricacies of this seemingly small component, you could open up a world of improved print performance and precision. Curious to learn how this minor adjustment can lead to major improvements in your 3D printing endeavors?
Importance of Nozzle Replacement

Regularly replacing the nozzle on your Ender 3 3D printer is crucial for maintaining excellent print quality and preventing potential clogs and mid-print failures. Over time, nozzles wear out, especially when using abrasive filaments, which can lead to lower print quality and increased clogging.
By replacing the nozzle at regular intervals, you guarantee precise extrusion, avoid unexpected print interruptions, and extend the lifespan of your printer. Signs that indicate the need for replacement include lower print quality, visible wear on the nozzle, and frequent clogs during printing.
Keeping a close eye on these indicators and proactively replacing the nozzle when necessary will help you achieve consistent and high-quality 3D prints with your Ender 3.
Essential Tools for Nozzle Replacement
For a smooth and efficient Ender 3 nozzle replacement process, gather essential tools such as crescent pliers, a combination wrench, Allen keys, and heat-resistant gloves. These tools are important for removing the old nozzle and installing the new one accurately.
Crescent pliers or channel locks help grip the hot end, while a combination wrench is handy for loosening the nozzle. Allen keys are necessary for accessing tight spaces, and heat-resistant gloves protect your hands during the procedure.
Having these tools ready before starting will make the entire process much easier and guarantee a successful nozzle replacement without any complications.
Step-by-Step Nozzle Replacement Guide

Start by heating up the hot end before proceeding with the nozzle replacement process. This step guarantees that the filament is soft and easy to remove.
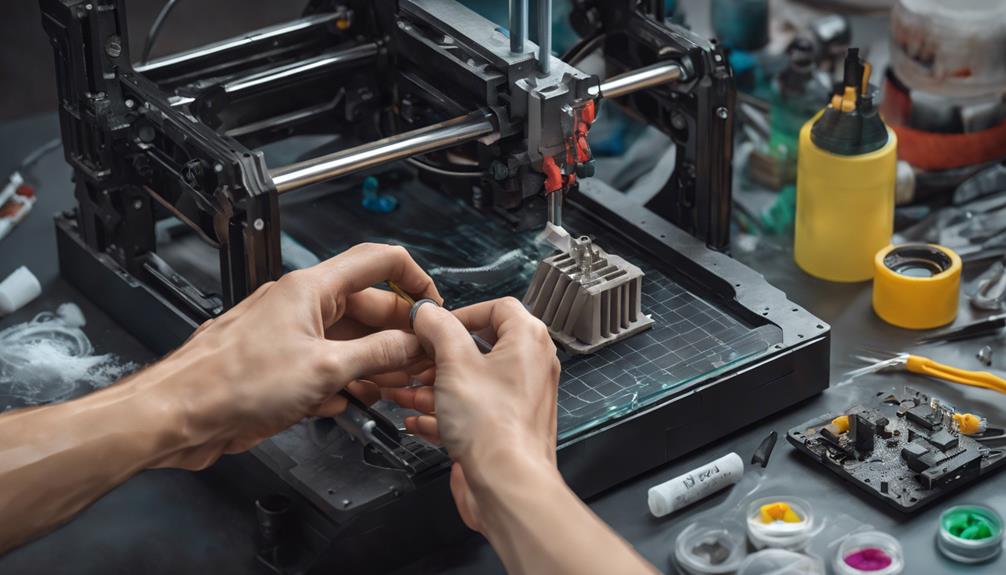
Once heated, remove the fan shroud and silicon sock to access the old nozzle. Using the correct tools, such as crescent pliers or a wrench, carefully unscrew the old nozzle.
Be cautious when installing the new nozzle, making sure it's securely in place without over-tightening. Heat up the hot end again to complete the installation process.
Run a cleaning filament through the new nozzle to remove any debris. Following these steps will help maintain the quality of your prints and prevent potential clogs, ensuring excellent 3D printing performance.
Common Mistakes to Avoid
To guarantee successful nozzle replacement and achieve the best 3D printing outcomes, avoid common errors like inadequate nozzle heating and improper tightening techniques. Here are four common mistakes to avoid:
- Not Heating the Nozzle Adequately: Make sure the nozzle is sufficiently heated before attempting to remove or install it.
- Over-Tightening the New Nozzle: Avoid tightening the new nozzle too much, as this can lead to issues with filament flow.
- Using the Wrong Nozzle Size: Always double-check and use the correct size of the replacement nozzle for your printer.
- Neglecting to Clean the Nozzle: Cleaning the nozzle before replacement is essential to prevent clogs and ensure smooth printing.
Testing and Final Steps

Begin by testing the printer with a few prints after replacing the nozzle to confirm proper functionality. Avoid over-tightening the nozzle during installation. Use a nozzle torque wrench to prevent thread damage. Print a calibration cube or test print to check extrusion consistency. Adjust settings for best results if needed. Explore curated Cura Profiles and recommended 3D printing products for Ender 3 printers.
| Testing and Final Steps | |
|---|---|
| Print Test | Confirm proper functionality |
| Nozzle Tightness | Use a torque wrench to avoid damage |
| Extrusion Check | Print a calibration cube |
| Optimization | Adjust settings if necessary |
Frequently Asked Questions
Can I Reuse the Old Nozzle After Cleaning It?
Yes, you can reuse the old nozzle after cleaning it, but it's recommended to replace it for best performance. Worn-out nozzles may affect print quality. Regularly replacing nozzles maintains your printer's performance and lifespan.
How Often Should I Replace My Nozzle?
You should replace your nozzle when print quality decreases, clogs occur more often, or wear becomes visible. Regular replacement maintains quality, prevents clogs, and extends printer life. Remember to follow proper steps and tools for successful replacement.
Is It Necessary to Replace the Entire Hot End Assembly?
Replacing the entire hot end assembly is like renovating your home just for a leaky faucet. Usually, you only need to swap the nozzle. It's cost-effective, less complex, and keeps your 3D printing journey smooth.
Can I Use a Nozzle From a Different Brand?
Yes, you can use a nozzle from a different brand, but make sure it's the correct size for your Ender 3. Verify compatibility for best performance. Remember, using incompatible nozzles may lead to print quality issues and potential damage.
What Should I Do if the New Nozzle Leaks Filament?
If the new nozzle leaks filament, make sure it's correctly installed and not over-tightened. Reassemble with care, allowing for proper sealing. Test the printer after reinstallation for leaks. Adjust as needed. Seek guidance if issues persist to enhance your 3D printing experience.
Conclusion
Now that you've mastered the nozzle replacement process for your Ender 3, you're ready to maximize the full potential of your 3D printer.
By staying proactive with maintenance and using the right tools, you can guarantee flawless prints every time.
Remember, a smooth printing experience starts with a well-maintained nozzle.
Keep up the good work and happy printing!