Imagine your 3D printer as a finely tuned instrument, each setting a note that harmonizes to create the perfect print. Just like a skilled musician adjusts the strings and keys to produce a flawless melody, mastering Ender 3 settings is a meticulous process that can elevate your printing experience. But what if there were simple tweaks that could enhance your prints from good to exceptional? Stay tuned to discover the secrets that will maximize the full potential of your Ender 3 and open up a world of flawless prints waiting to be created.
Foundational Settings Understanding
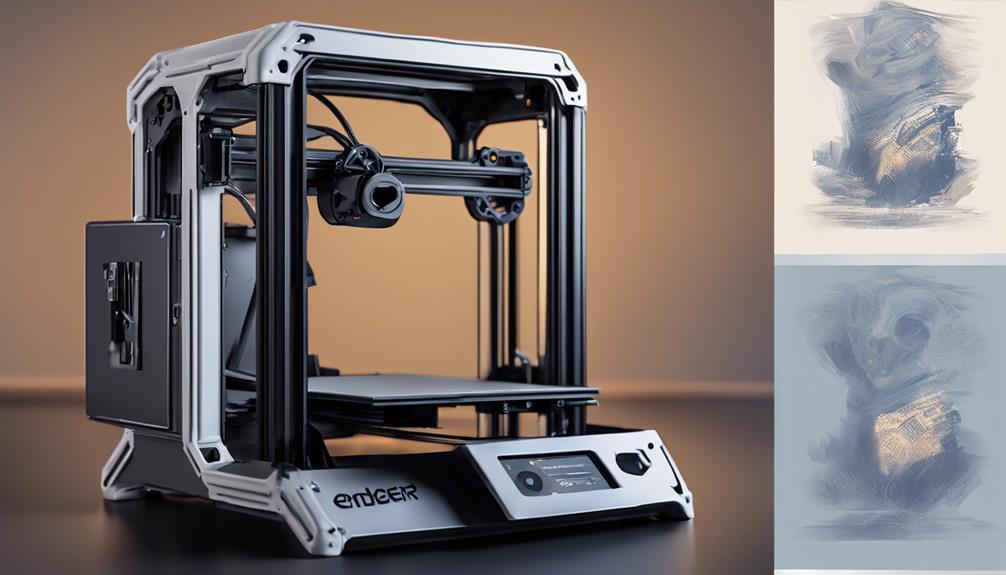
To master your Ender 3 settings effectively, grasp the foundational understanding of basic settings. Start by familiarizing yourself with key parameters like layer height, print speed, and infill density. These settings directly impact your print quality.
Learn how adjusting temperatures affects different filament types and experiment with bed temperatures for ideal adhesion. Understanding these basics is essential before delving into more advanced features.
Take the time to adapt your print settings based on the material you're using and the desired outcome. By mastering these fundamental settings, you pave the way for smoother printing experiences and higher quality prints.
Leveraging Standard Cura Profiles
Considering the standard Cura profiles as your starting point can streamline your 3D printing setup for best results. These profiles serve as a solid foundation, offering pre-configured settings that work well for a wide range of prints. By leveraging these standard profiles, you can save time and effort in the setup phase, allowing you to focus more on the creative aspect of 3D printing.
While these profiles may not be perfect for every print, they provide a great starting point that you can easily tweak to suit your specific needs. With the customization options available within Cura, you have the flexibility to adjust settings such as layer height, infill density, and printing speed to achieve the desired print quality for your projects.
Fine-Tuning Material-Specific Configurations
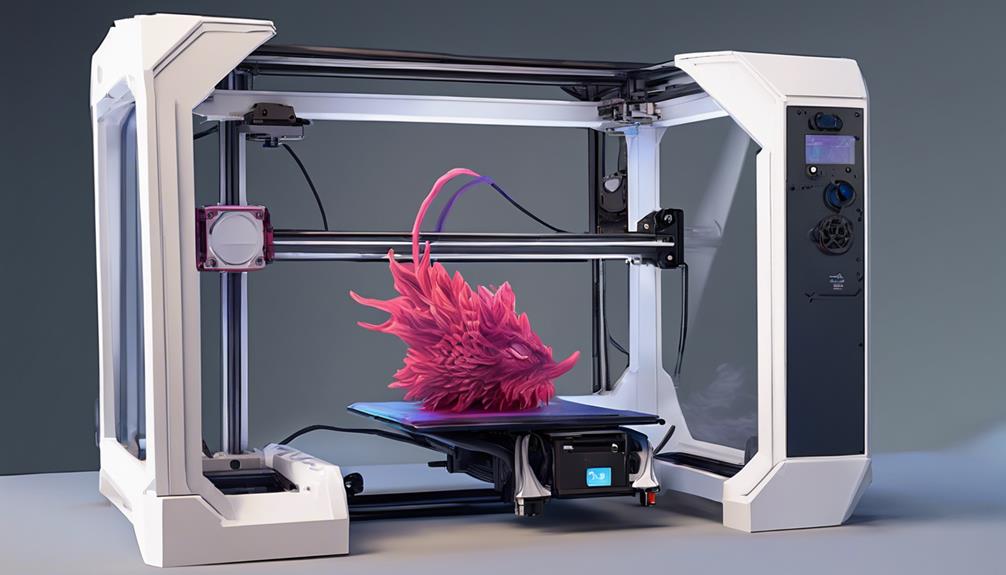
Fine-tune your material-specific configurations for best 3D printing results. Adjust settings like temperature, retraction, and speed to match the unique properties of PLA, ABS, PETG, and TPU.
For PLA, lower temperatures and slower speeds may enhance print quality. ABS benefits from higher temperatures and an enclosed print environment. PETG requires precise temperature control to prevent warping. TPU settings should focus on flexible filament handling.
Consider support overhang angles and upgrades for nylon and polycarbonate. Confirm your slicer profile is well-calibrated for each material. These adjustments optimize your Ender 3 settings for different filaments, improving print quality and success rates.
Experiment with these material-specific configurations to achieve the best results.
Frequently Asked Questions
How Can I Prevent Stringing in My Prints?
To prevent stringing in your prints, adjust retraction settings. Increase retraction distance slightly and raise retraction speed. These tweaks help filament retract properly between print moves, reducing stringing issues and improving your print quality.
What Is the Ideal Print Speed for Detailed Models?
When aiming for detailed models, you might think slower speeds are best. However, the ideal print speed balances detail and efficiency. Opt for around 40-60mm/s to achieve intricate designs without compromising print quality on your Ender 3.
How Do I Adjust Cooling Settings for Better Results?
To adjust cooling settings for better results, tweak fan speed and layer fan options in slicer software. Increase cooling for overhangs and small details. Experiment with different cooling settings to find the best balance for your prints.
Can I Mix Different Filaments for Multi-Color Prints?
Yes, you can mix different filaments for multi-color prints. Experiment with various combinations to achieve unique results. Guarantee proper settings for each filament type to maintain print quality. Explore and have fun creating!
What Is the Impact of Nozzle Size on Print Quality?
Choosing the right nozzle size influences print quality to a great extent. A smaller nozzle produces finer details but takes longer. A larger nozzle offers faster prints but sacrifices detail. Match your nozzle size to your project needs for best results.
Conclusion
You've now mastered your Ender 3 settings, paving the way for perfect prints every time.
Did you know that by fine-tuning material-specific configurations, you can achieve a 20% increase in print quality?
Keep experimenting and pushing the boundaries to reveal the full potential of your 3D printer.
Happy printing!